Renew Remote Desktop 2016 TLS Certificate on Azure

Create Certificate Request
Connect to the Remote Desktop Gateway Server on Azure (remoteappgw.xxxxx.local, xxx.xx.1.4)
- Start > Run > mmc.exe
- File > Add/Remove Snapin
- Select Certificates in the left pane > Add > “Computer account” > Next > “Local computer” > Finish > OK
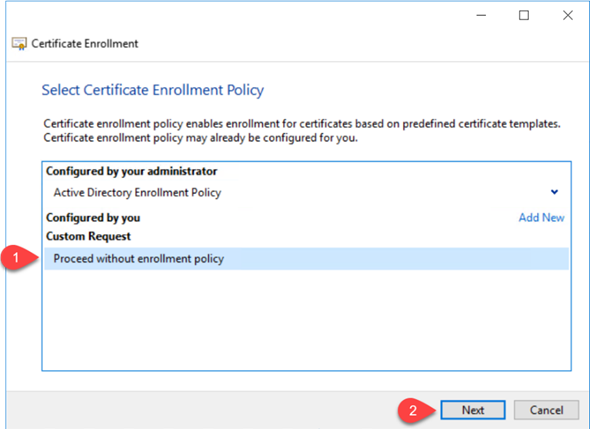
- Select “Proceed without enrolment policy” and click Next.
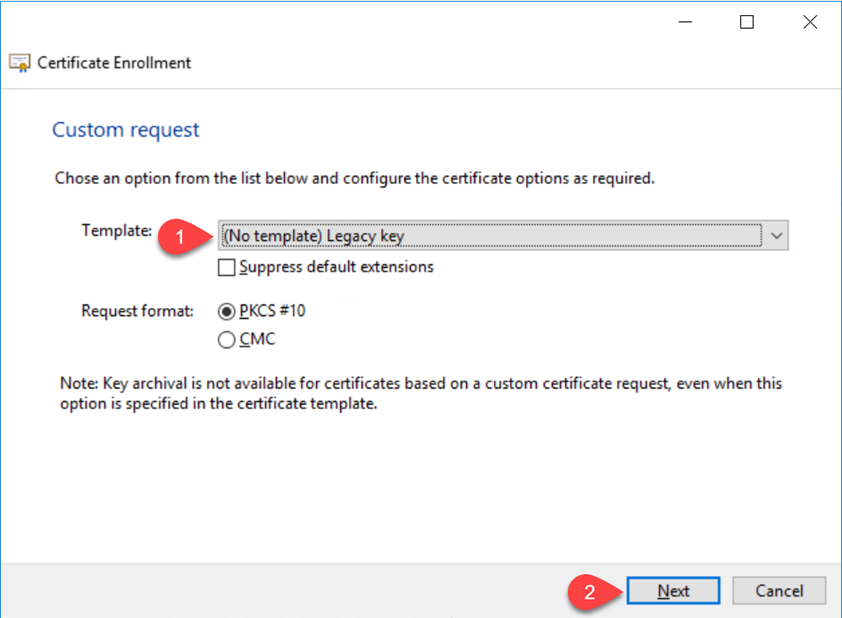
- Select “Legacy Key” and click Next
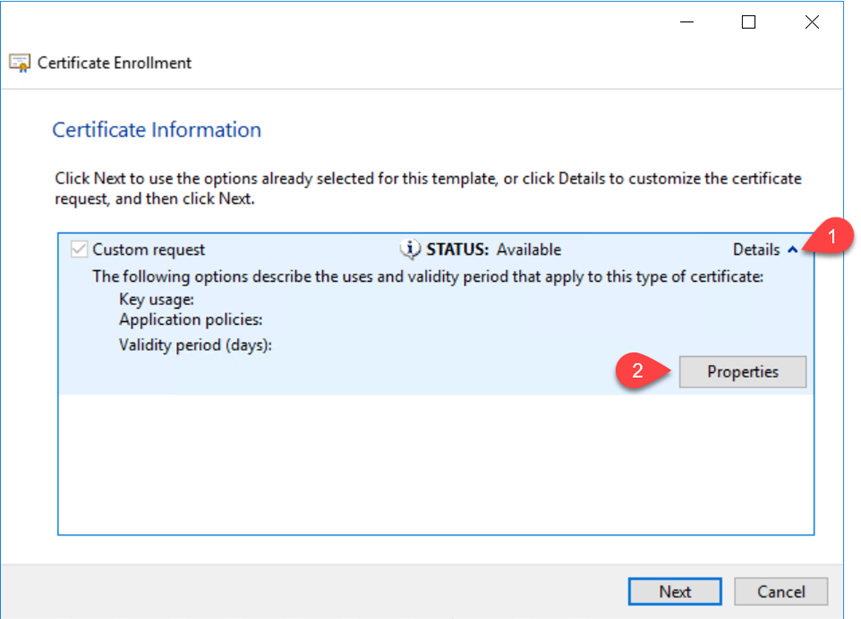
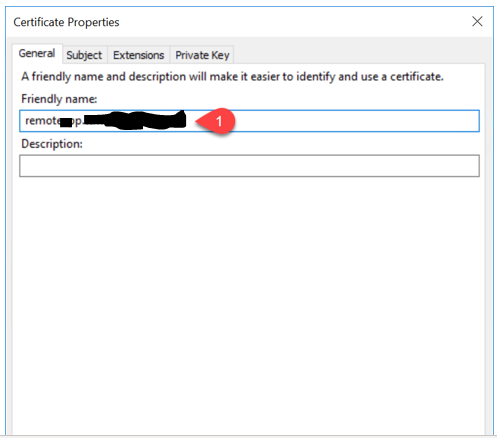
- Select the dropdown button and select “Properties”
- Enter the “Friendly Name” and click “Apply”
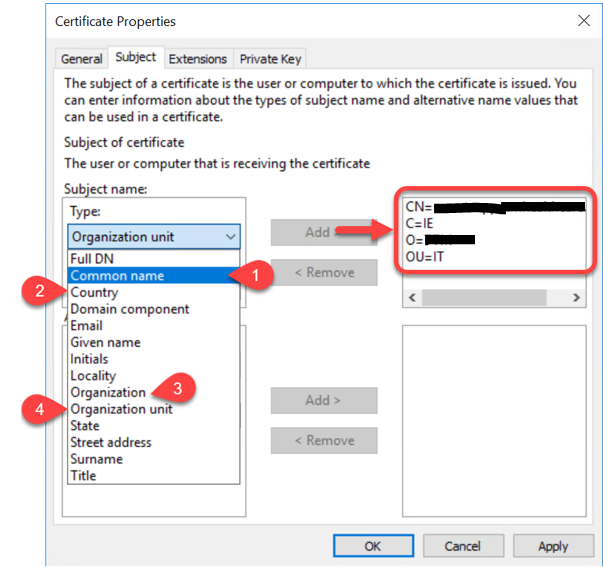
- Under the “Subject Name” box, enter the following:
Common Name: remoteapp.xxxx.xxxx
Country: IE
Organisation: xxx
Organisation Unit: IT
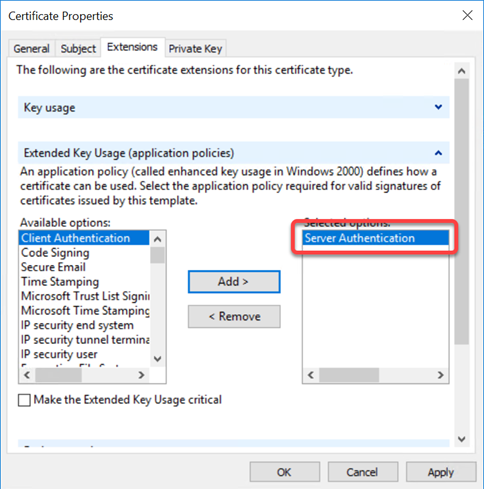
- Select “Server Authentication” from the Available options and click “Add”. Click “Apply”.
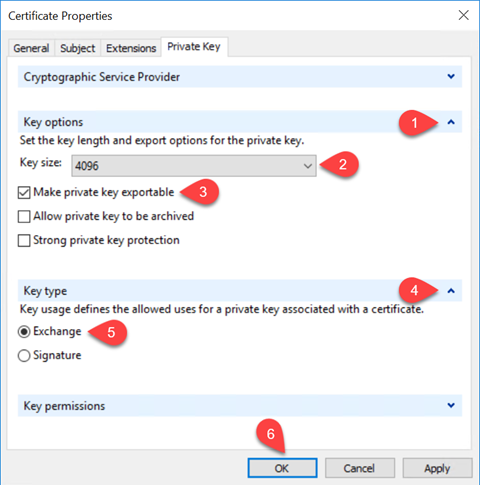
- Select the “Private Key” tab. Under “Key Options”, select a key size of “4096”. Select “Make private key exportable”. Change the Key Type to “Exchange”. Click OK.
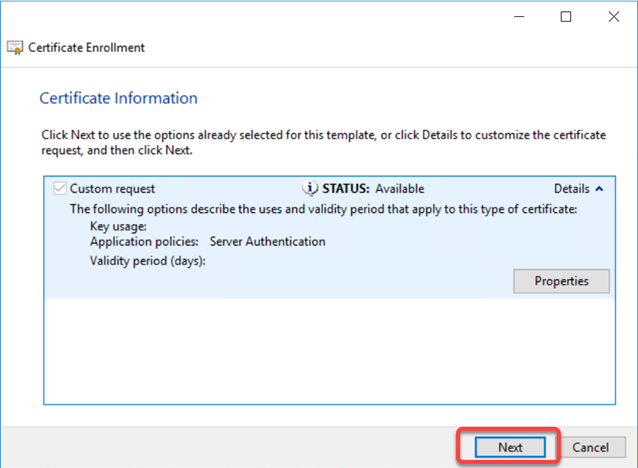
- Click Next
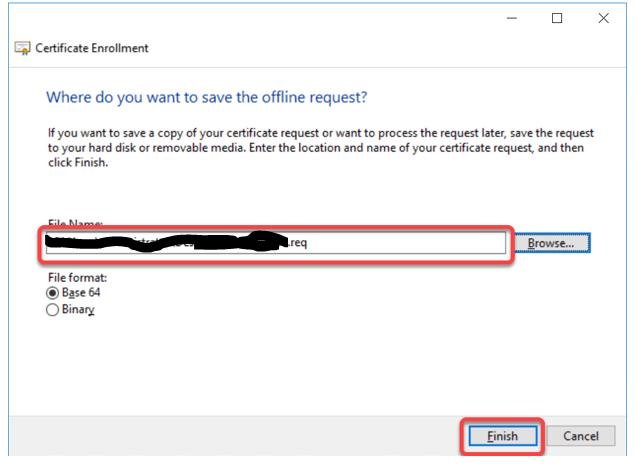
- Enter a location for the request file and name appropriate. Click Finish.
- Copy the request file to the certificate authority (azaadc1.xxx.xxx, xx.xx.xx.xx)
Issue Certificate from Certificate Authority
In order to authorize the certificate within the Certificate Authority, run the following command (replacing the request file path with the location of the file copied in from the previous step).
certreq -submit -attrib “CertificateTemplate:WebServer” “<path .txt file>”
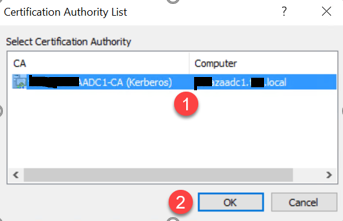
A prompt will ask you to select a certificate authority and click OK.
You will then be asked to save the issued certificate. Select a location and click “Save”.
Copy the certificate file back to the server which created the request in Step 1.
Apply Certificate
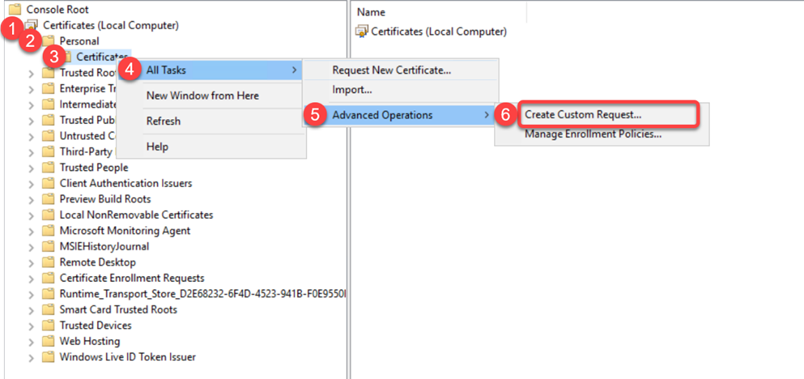
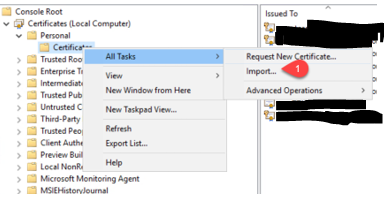
In the certicate MMC console from Step 1, “Certificates (Local Computer)” > Personal > Certificates > [right click] “All Tasks” > Import.
“Local Machine” should be preselected, click Next.
Browse to the certificate file copied from CA in the previous step. Click Next.
The “Personal” store should be selected, click Next.
Click Finish.
Right-click on the certificate which was imported, Select All Tasks > Export
Click Next
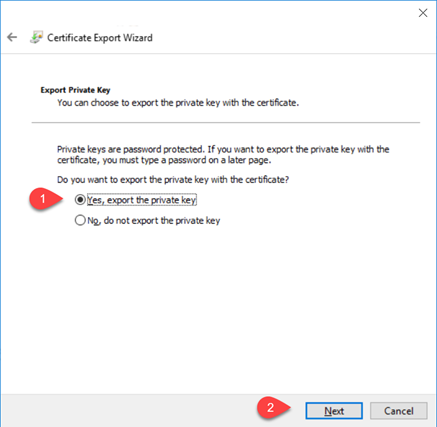
Select “Yes, export the private key” and click Next.
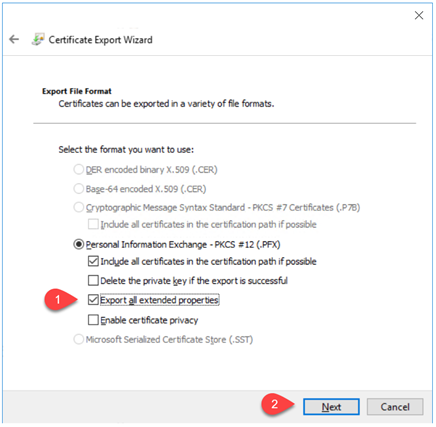
Select “Export all extended properties” and click Next.
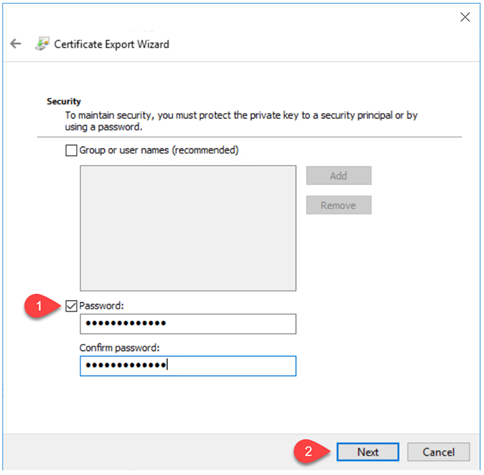
Select “Password” and enter a secure password and confirm. Click Next.
Enter a location\name and click “Save”. Click Next
Click “Finish”. Click OK.
Launch the Server Manager
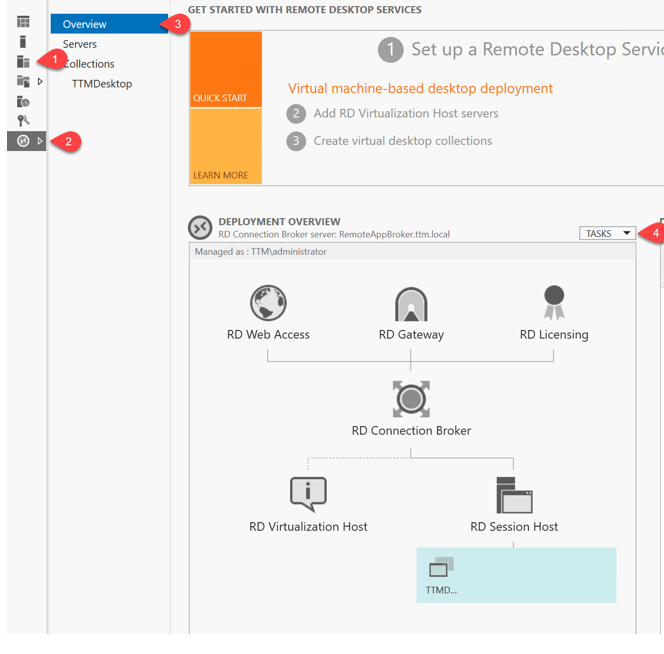
Under “All Servers” (highlighted as 1 in the screenshot below), select all servers relating to the Remote Desktop environment.
The Remote Desktop tab should then appear (as highlighted in button 2 below). If the details don’t populate you may need to wait a few minutes while it contacts the servers.
Select the Overview tab (highlighted in button 3 below)
Under Tasks, select “Edit Deployment Properties”
Select the “Certificates” tab on the left pane and for each item (buttons 2 to 5), select “Select existing certificate”
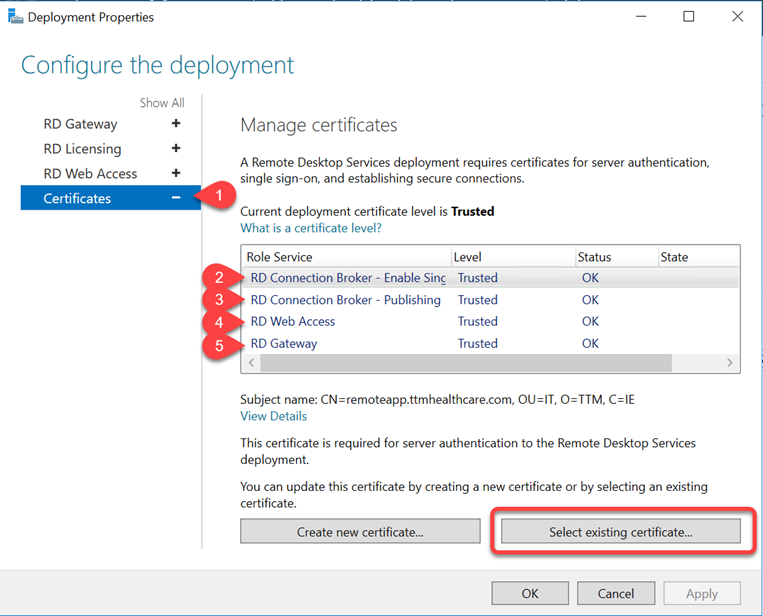
Select “Choose a different certificate”, browse to the exported certificate from earlier in this step. Enter the Password which was used at the time of export, select the option “Allow the certificate to be added to the Trusted Root…” and click OK.
Complete the above Step for each of the 4 roles below (buttons 2 to 5).